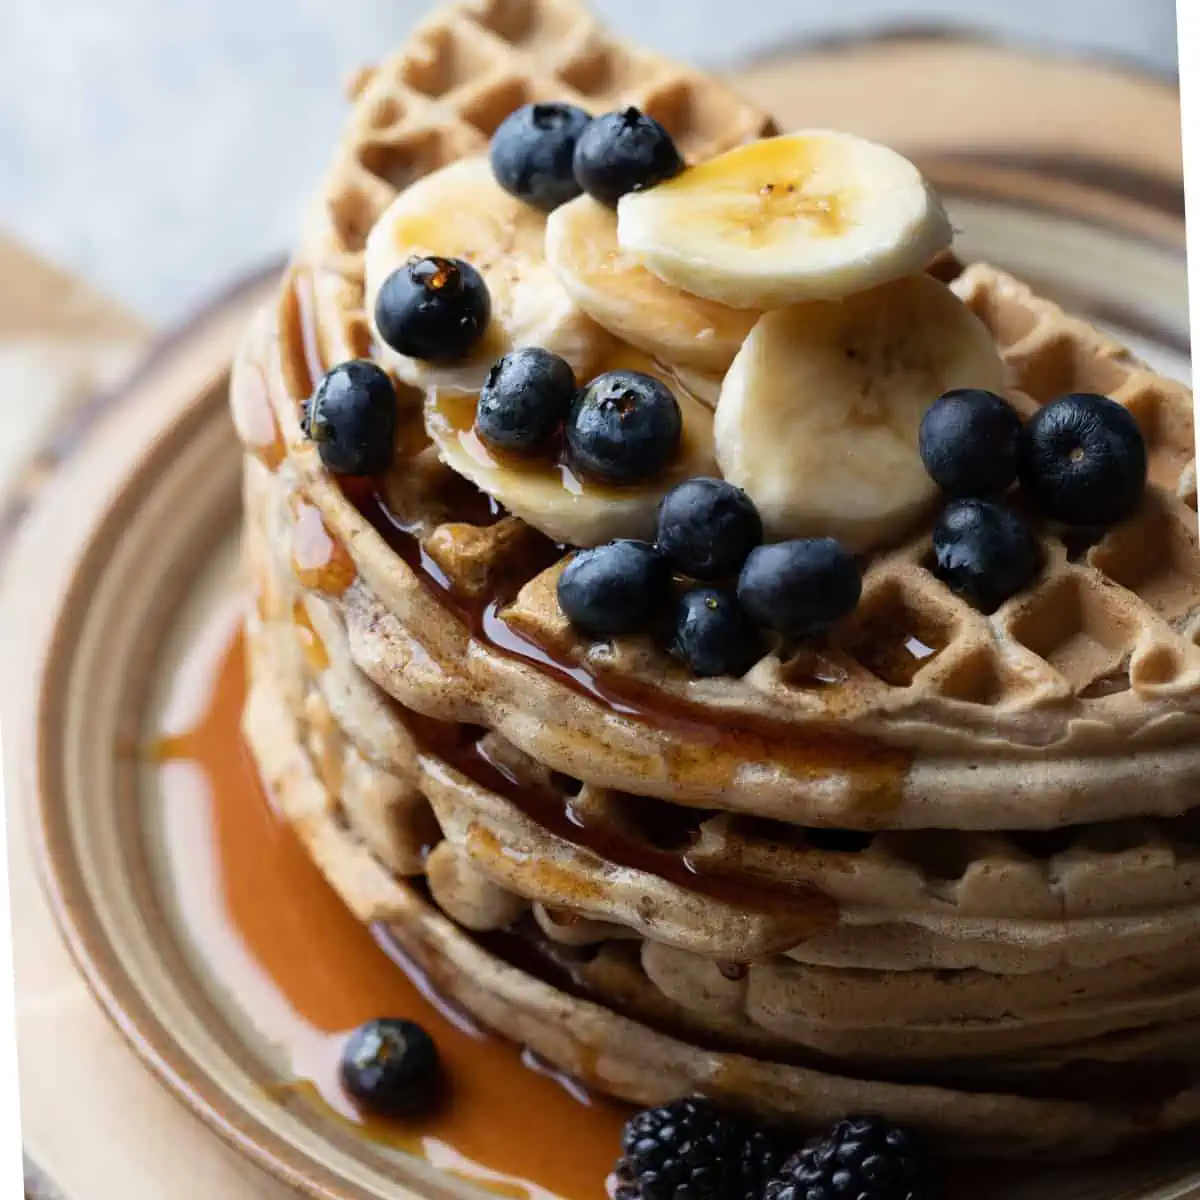
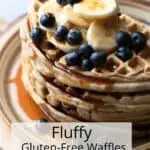
Dive into a plate of these fluffy dairy free waffles, guaranteed to be a hit on your busy mornings! Made gluten-free and vegan, these perfect waffles are an easy breakfast recipe. Perfect for meal prep, and absolutely delicious. Your family will love this healthy and tasty breakfast option. Made sugar-free, nut-free, and dairy-free!
This content is for informational purposes only and not intended as medical advice. Please see our disclaimer page for more information.
Jump to:
- 🧇Getting the Right Waffle Texture:
- 👪Why Your Family Will Love This Recipe
- 🥒Will Picky Eaters Like This
- ⏲️ Time-Saving Tip
- 🧠Health Benefits: Homemade VS Frozen
- 🥄What is Aquafaba: The Secret Ingredient
- 💭How to Substitute Aquafaba for Egg
- 🧇Ingredients
- 💡Recipe Tips for Dairy Free Waffles
- 👩🏽🍳Step-By-Step Instructions
- 🥬Substitutions
- 🥡Storage
- ❔FAQ
- 🥣Looking for more...
- 📖 Recipe
- Information Source
Today, I'm excited to share with you my journey to creating the perfect dairy-free waffle recipe. As a dairy-free and gluten-free mom, I am always experimenting to recreate our favorite breakfast treats with our dietary needs in mind. Especially with 3 little food critics at home!
I have been perfecting these crispy waffles for a little while now. Food texture is a serious matter in our house, and I'm grateful for my family's input. It's helped me create a gluten-free vegan waffle recipe that's now a family favorite.
🧇Getting the Right Waffle Texture:
The secret to getting a fluffy waffle texture when making gluten-free, dairy-free waffle recipe is all in the gluten-free waffle mix and the discovery of Aquafaba!
I initially experimented with a few different gluten-free flours for this recipe, from buckwheat to oat. While delicious, they never quite hit the fluffy mark. Then, I discovered Bob's Red Mill's 1-to-1 gluten-free flour blend, and it was a game-changer. It consistently gives me the best waffles, creating a light, fluffy, and delicious waffle recipe.
Next the Aquafaba. This magical liquid from canned chickpeas whips up into a light, airy foam, making our eggless waffle recipe incredibly light and fluffy. It was a revelation to me, and it's become my go-to egg replacement in vegan baking.
Another game-changer was a tip from you, my wonderful community. Many of you reported that the waffle batter keeps well in the fridge, allowing you to whip up fresh waffles in no time. Now, I make a bigger batch over the weekend for easy breakfasts or after-school snacks throughout the week.
So, are you ready to join me on this journey and whip up some delicious, fluffy dairy free waffles? Let's get started!
👪Why Your Family Will Love This Recipe
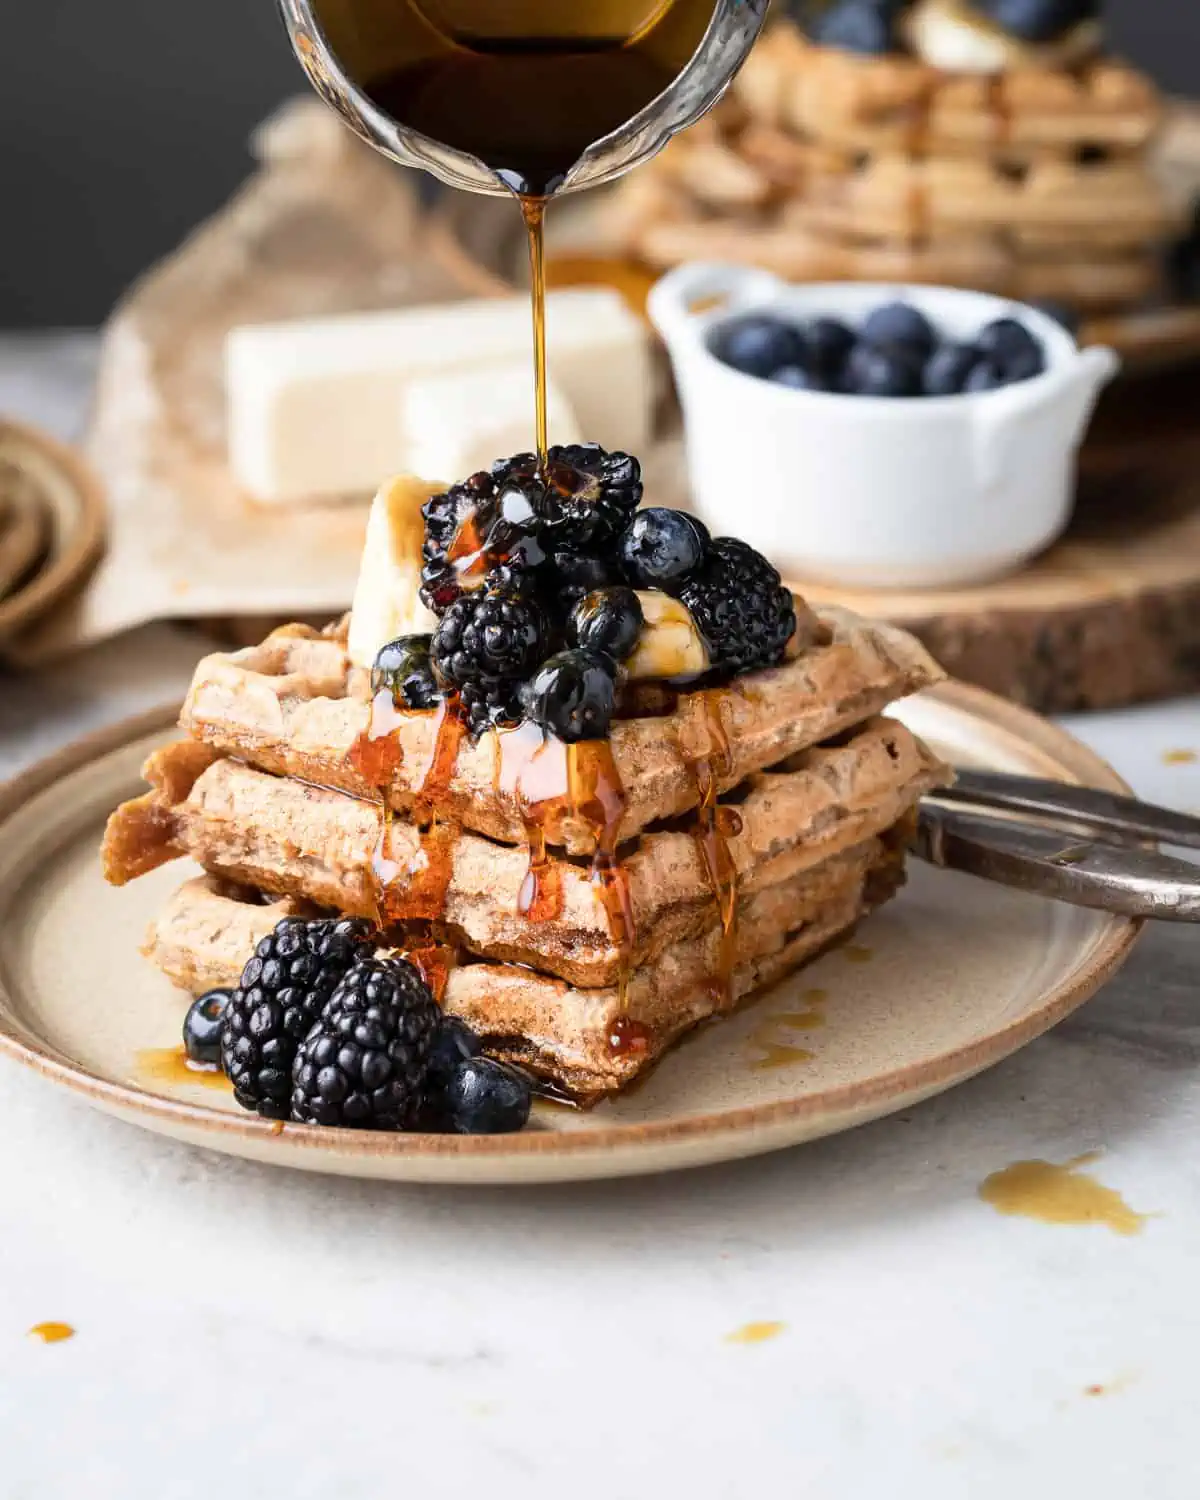
- Taste: They're delicious, with a light, fluffy texture that rivals traditional waffles. Add your family's favorite toppings from blueberries to chocolate chips or even mini marshmallows for an extra special s'more treat!
- Meal prep: My favorite reason for loving this recipe is that they store very well. Make a big batch and keep the batter in the fridge for any day waffles!
- Snack friendly: I am always looking for fun and healthy snack recipes for my boys. Since the batter stores well, it is super easy to whip up a batch after school for a healthy snack option.
- Versatility: They can be served with a variety of toppings, from classic syrup to fresh fruits.
- Convenience: The batter can be made ahead and stored in the fridge for quick breakfasts or snacks.
🥒Will Picky Eaters Like This
- Kid-approved: These waffles have been taste-tested and loved by my own kids.
- Fun to eat: The classic waffle shape and the ability to add their favorite toppings make these a fun meal for kids. Pro tip: add in some chocolate chips or your child's favorite fruit to help entice them to try it.
- Family fun: Get your kiddos involved when making these, the simple ingredients make it a family-friendly recipe to make together. My kids love using the beater and adding in their favorite toppings.
- Great taste: They're light, fluffy, and delicious, making them a hit even with the pickiest of eaters.
- Versatile: A perfect breakfast or healthy snack. Dip in melted chocolate for an extra special treat!
⏲️ Time-Saving Tip
- Make a bigger batch: This vegan gluten-free waffle batter keeps well in the fridge, so consider making a larger batch over the weekend. This way, you'll have an easy breakfast option or a healthy snack for after school during the week.
- Store the batter, not the waffles: I've found that storing the batter instead of the cooked waffles helps them keep their fluffy and moist texture. Cooked waffles can dry out in the fridge, but the batter stays fresh and ready to be turned into warm, delicious waffles whenever you want.
- Prep the dry ingredients the night before To save time, you can mix the dry ingredients the night before and store them in an airtight container. This way, you're one step ahead when you start cooking in the morning.
- Use the batter as needed: With the batter ready in the fridge, you can whip up fresh waffles in no time. Whether it's for a quick breakfast or an after-school snack, these vegan gluten-free waffles are always a hit.
Remember, the key to a stress-free cooking experience is preparation. With these time-saving tips, you'll be able to enjoy these fluffy vegan gluten-free waffles without feeling rushed. Enjoy!
🧠Health Benefits: Homemade VS Frozen
Ever wondered why homemade waffles are a better choice than their frozen counterparts? Let's delve into the science-backed reasons that make homemade waffles a healthier option for your family:
- Control over Ingredients: When you make waffles at home, you have complete control over what goes into them. This means you can choose healthier options and avoid additives and preservatives often found in frozen waffles. In addition, for those with a dietary restriction or allergy, homemade waffles allow you to choose gluten-free flour and plant-based proteins, and milk.
- Nutrient-Rich: Homemade waffles can be more nutrient-rich. Research has shown that people who ate more homemade meals consumed more fruits, vegetables, and whole grains (1) which support better overall health and brain development.
- Lower Risk of Type 2 Diabetes: If the majority of your meals are homemade lunches or dinners, you may have a lower risk of developing type 2 diabetes, especially when compared to people who are mainly really on pre-made, frozen, or restaurant meals (1).
- Weight Management: Families that eat more homemade meals put on less weight and may have a lower risk of developing obesity (1, 2).
Remember, the key to a healthy diet is balance. While these vegan gluten-free waffles are a healthier choice, they should be part of a balanced diet that includes a variety of foods.
🥄What is Aquafaba: The Secret Ingredient
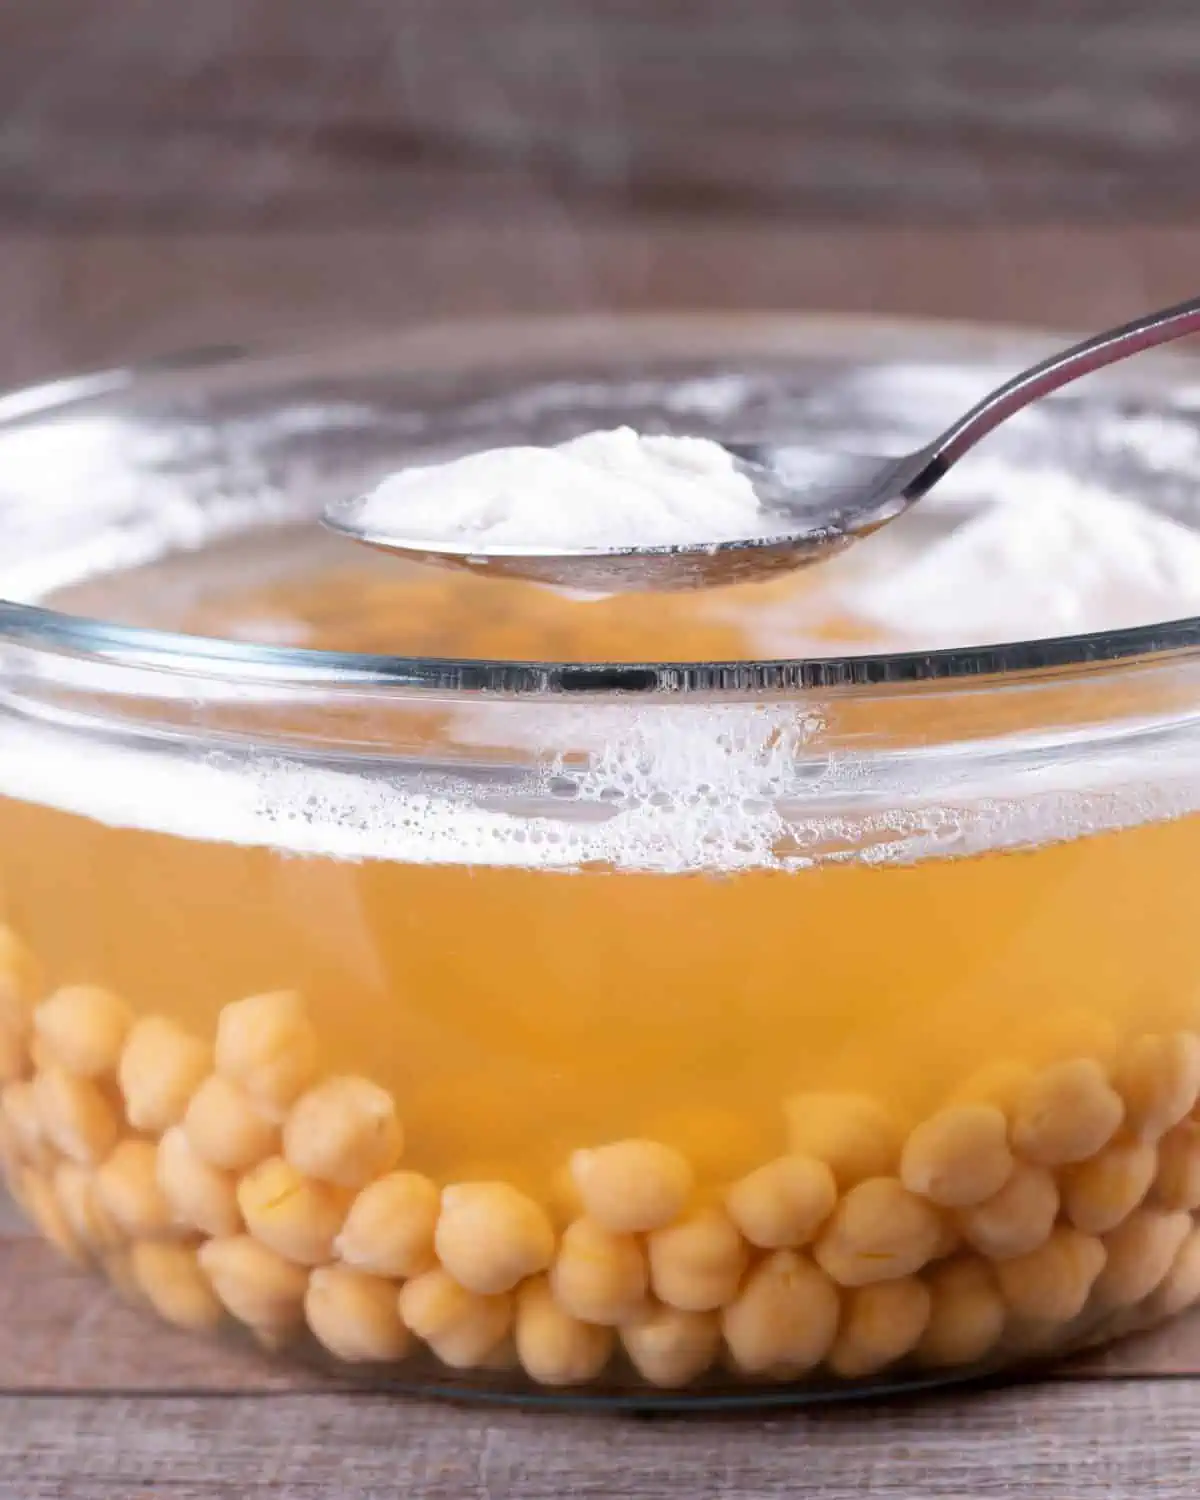
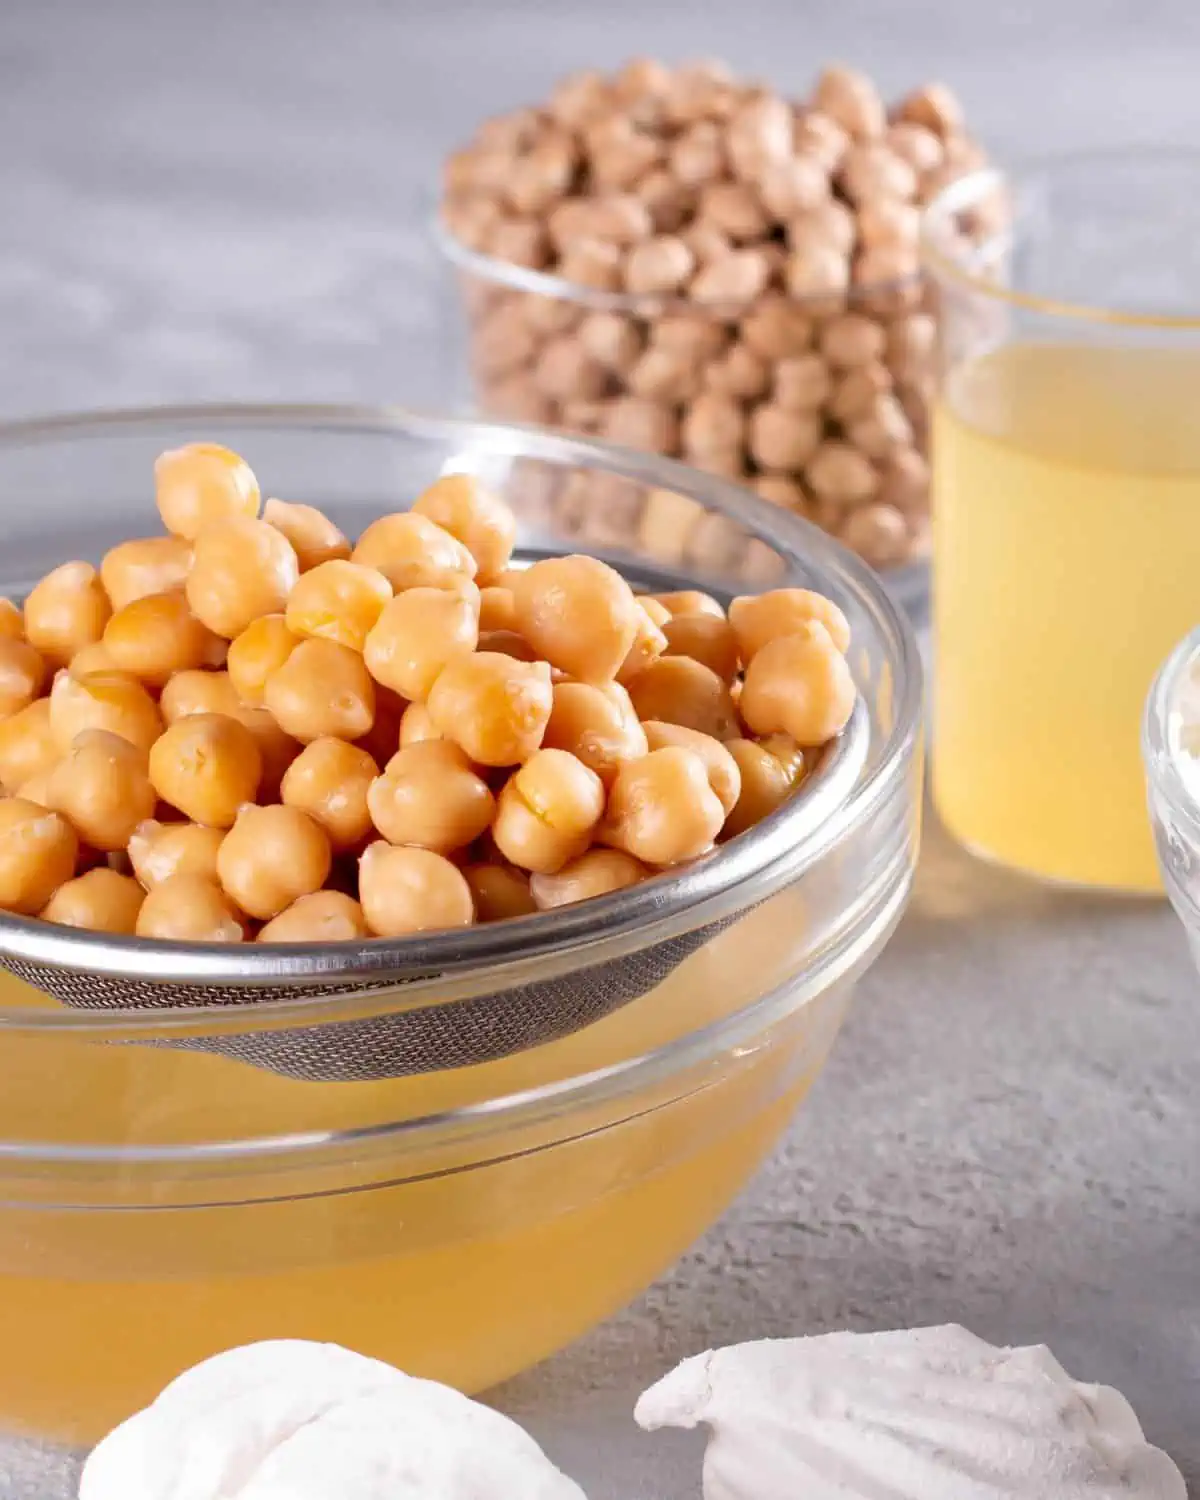
Aquafaba is such a cool thing. If you're still confused by this odd-sounding word, aquafaba is the viscous water you drain off a can of chickpeas. Actually, that's why it's called aquafaba, derived from two words, aqua (water) and Faba (bean)! And it's perfect for gluten-free and vegan recipes.
When aquafaba is whipped, it turns into a foamy, fluffy cloud very similar to a meringue. You would have a hard time telling me that it wasn't made from eggs! So you can imagine the hype for people with an egg allergy when they discover this! No more gross egg replacers! Now we too can have fluffy meringues and delicious baked goods!
As I mentioned above, aquafaba is the thick liquid found in canned chickpeas. But you can also use the liquid from homemade chickpeas. If this is your first time, I would suggest trying the canned option first. I have had the most success with using this option. It's thicker and much easier to work with. And it makes perfect egg-free waffles!
💭How to Substitute Aquafaba for Egg
The general rule of substitution is
- 1 tablespoon of aquafaba for one egg yolk
- 2 tablespoon of aquafaba for one egg white
- 3 tablespoon of aquafaba for one whole egg.
But, the thickness of your aquafaba matters, which is why I recommend the canned liquid version. Plus you can save your chickpeas to make this creamy Caesar salad with crispy chickpea croutons!
If you're interested in the fascinating history of aquafaba and how it came to be a game-changer in vegan cooking, check out this great article by Epicurious.
🧇Ingredients
Let's talk about the ingredients that make these gluten-free dairy free waffles so special.
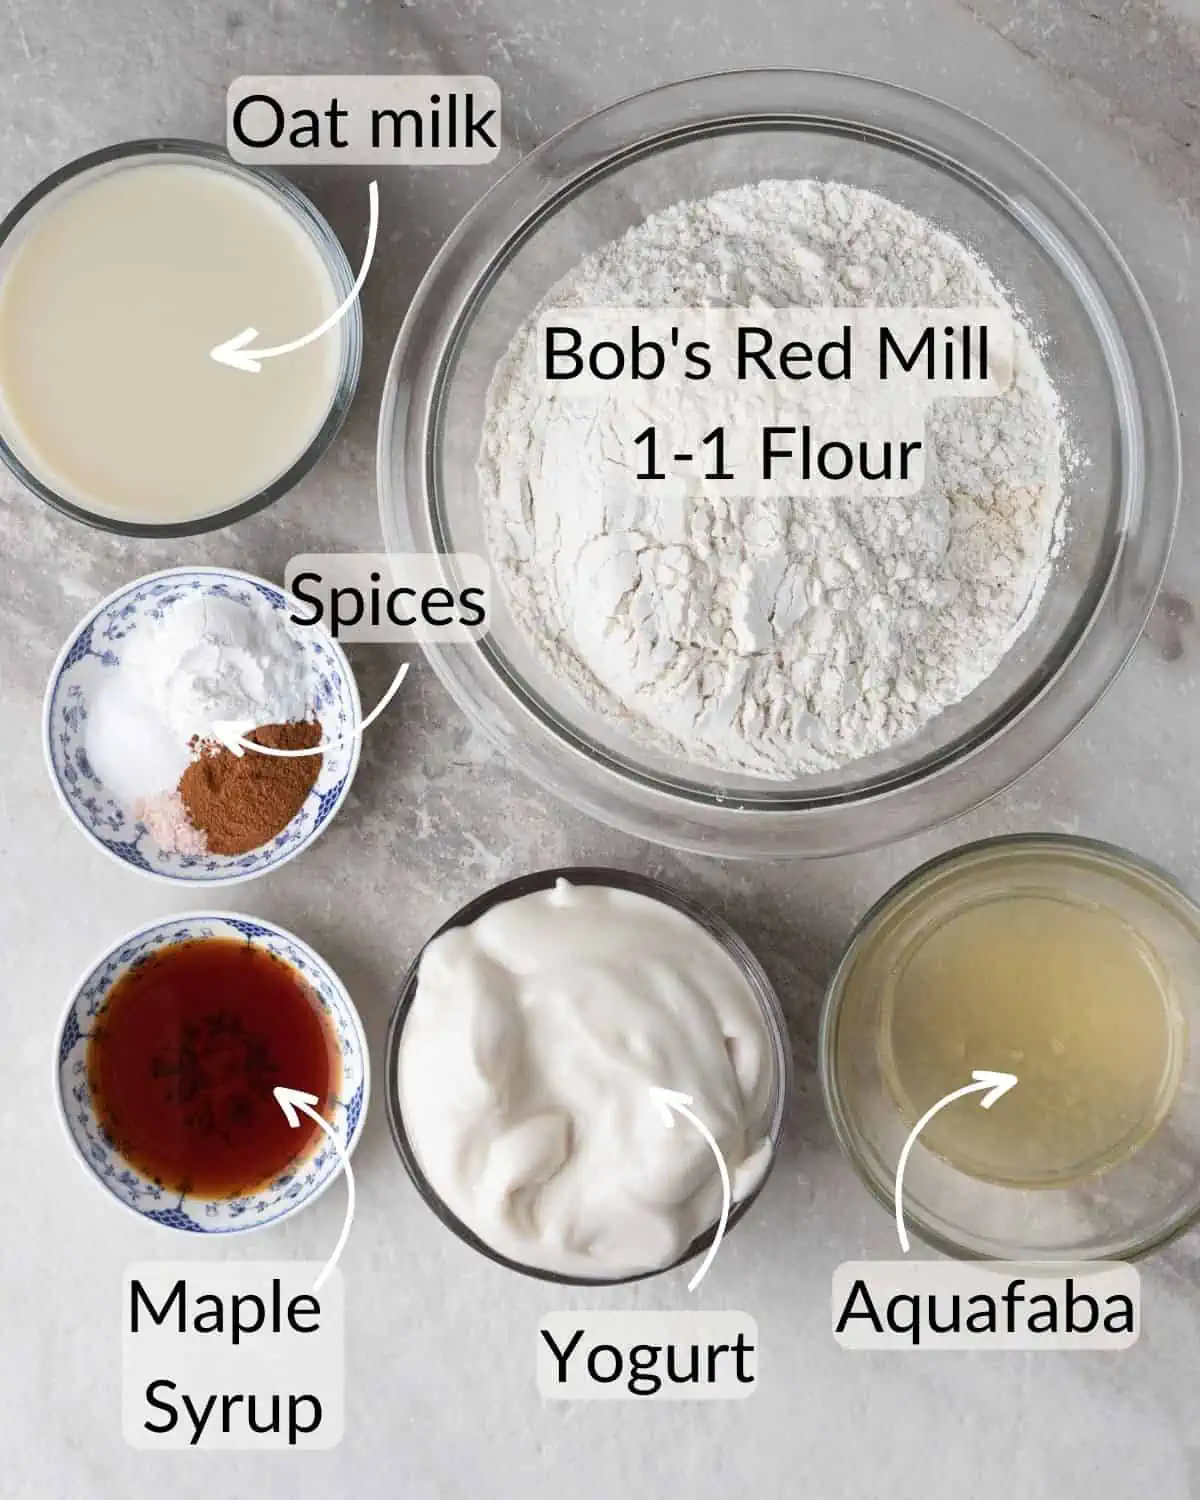
Dry Ingredients:
- Gluten-free flour: I always reach for Bob's Red Mill 1-to-1. It's my go-to because it gives the waffles that perfect fluffy texture we're aiming for. You can use all-purpose if you want a higher protein content but this will affect the texture slightly.
- Baking powder and baking soda: These are the leavening agents that will give our waffles their lift.
- Salt: A little bit of salt is essential to balance out the sweetness and bring out the flavors.
- Cinnamon: This is optional, but I love adding a dash for a hint of warmth and spice.
Wet Ingredients:
- Plant-based yogurt: This is the secret ingredient that makes these waffles incredibly moist. Plus, it's a great source of plant-based protein.
- Oat milk: I prefer oat milk for its creamy texture and mild flavor, but feel free to use any non-dairy milk you have on hand (or dairy if you are not vegan). I have experiemented with almond milk and coconut milk and both work great!
- Aquafaba: This is the liquid from canned chickpeas, and it's a magical ingredient in vegan baking. It whips up just like egg whites and gives our waffles a light, airy texture.
- Vanilla extract: A splash of vanilla adds a lovely aroma and depth of flavor.
Optional Add-Ins:
- Chocolate Chips
- Blueberries
- Sliced Strawberries
- Mini marshmallows and chocolate chips: My kid's favorite dessert! This makes a s'more waffle recipe and it's so delicious!
💡Recipe Tips for Dairy Free Waffles
Here are some helpful tips to ensure you get fluffy and crispy dairy free waffles:
- Don't Overmix: Overmixing can lead to tough and dense waffles, just mix until the ingredients are combined.
- Liquid amount: Balance is key here. Too much liquid can result in thin and floppy waffles, while too little can make them dry and dense.
- Using a binding agent: Gluten-free flours lack the binding properties of wheat flour. That's where our star ingredient, aquafaba, comes in. It acts as a fantastic binder, giving our waffles the perfect texture.
- Using the right GF flour: Different gluten-free flours have different textures and absorbencies. It's important to use the type of flour called for in the recipe to achieve the desired texture and flavor.
- Let the batter rest: Allowing the batter to rest for at least 10-15 minutes can help the flours absorb the liquid and create a better texture.
- Preheat your waffle iron: Preheat your waffle iron before using it. If the iron is not hot enough, the waffles may stick or not cook evenly.
- Overcrowding the waffle iron: Overcrowding can result in unevenly cooked waffles.
- Not greasing the waffle iron: Even if the waffle iron has a non-stick surface, it's important to lightly grease it to prevent sticking. A little bit of coconut oil or vegan butter works wonders here.
👩🏽🍳Step-By-Step Instructions
Now, let's get down to the fun part - making our fluffy vegan gluten-free waffles!
Step 1: Combine the dry ingredients:
Start by adding all the dry ingredients into a large mixing bowl. Give them a good whisk to ensure they're well combined. This helps distribute the leavening agents evenly, so our waffles rise perfectly.
Step 2: Add the wet ingredients:
Next, pour in the plant-based yogurt, oat milk, and vanilla extract. Grab a spoon and mix until everything is well combined. The batter might look a little lumpy, but that's okay. Overmixing can lead to tough waffles, and we want ours to be light and fluffy.
Step 3: Whip the aquafaba:
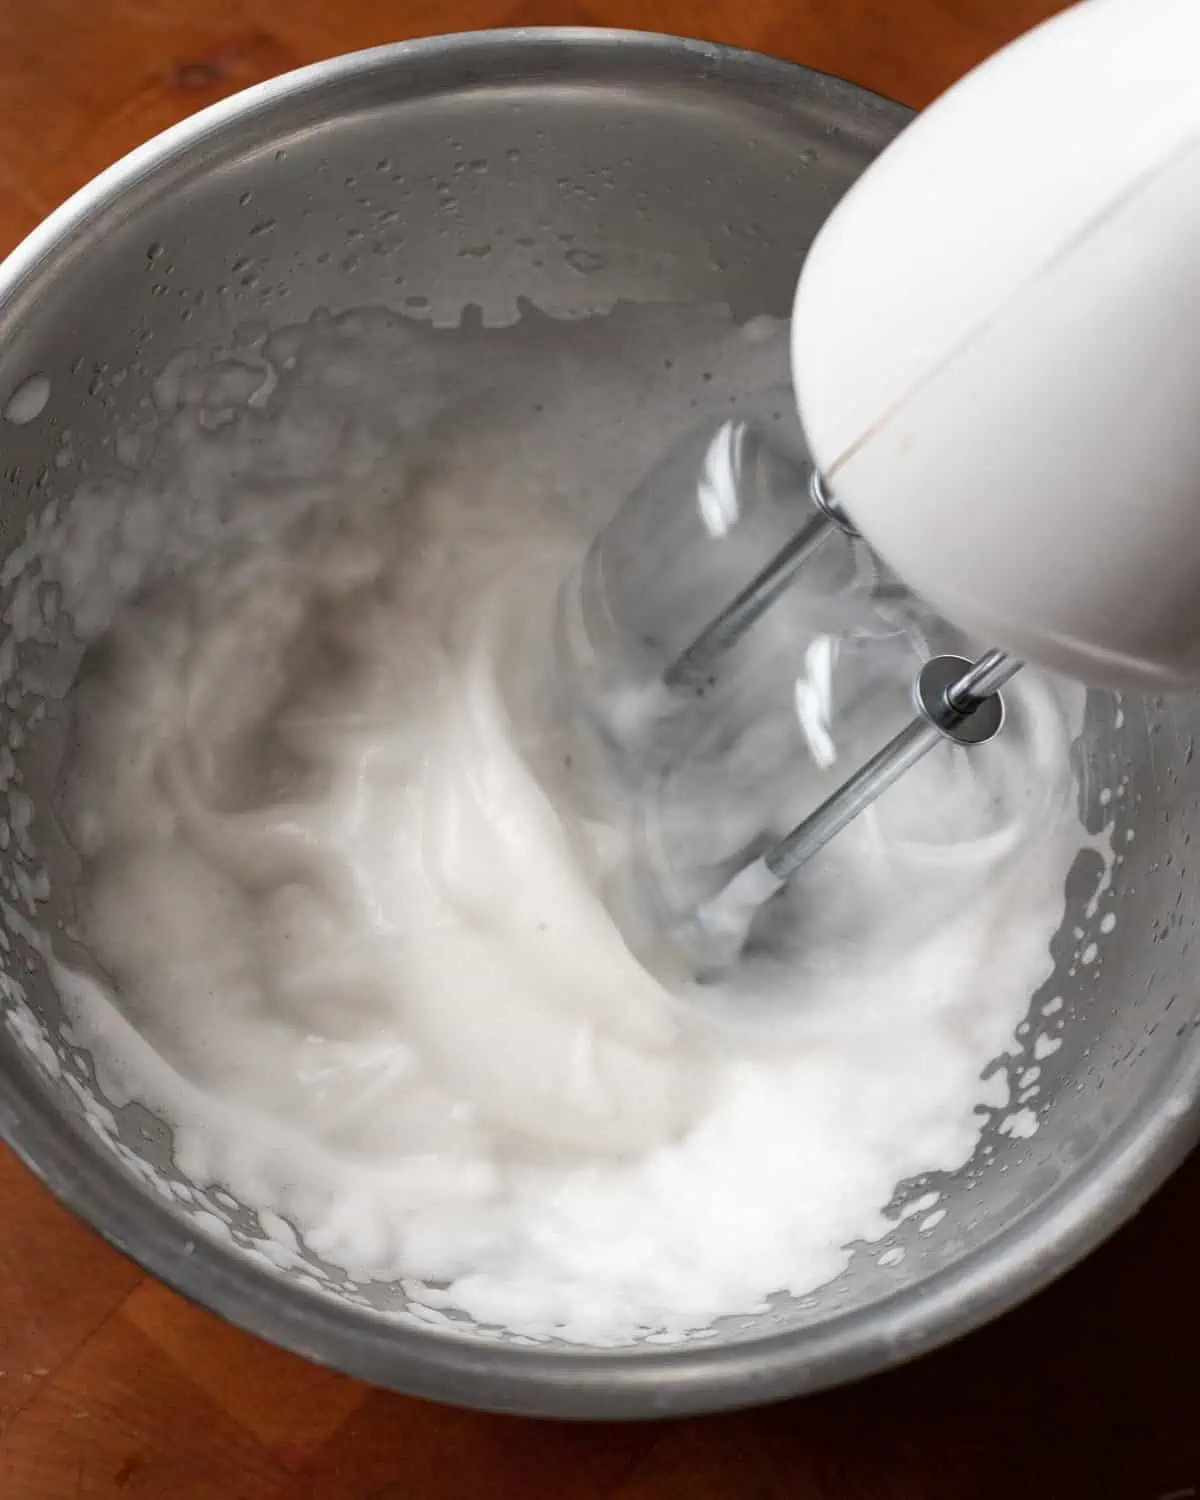
Now, in a medium-sized mixing bowl, add the aquafaba. Beat it on medium speed until stiff peaks begin to form. This should take about 3-5 minutes.
Pro tip: Be patient with this step. The aquafaba needs to be whipped to the right consistency to give our waffles that airy texture. It should not take more then 5 minutes!
Step 4: Fold in the whipped aquafaba:
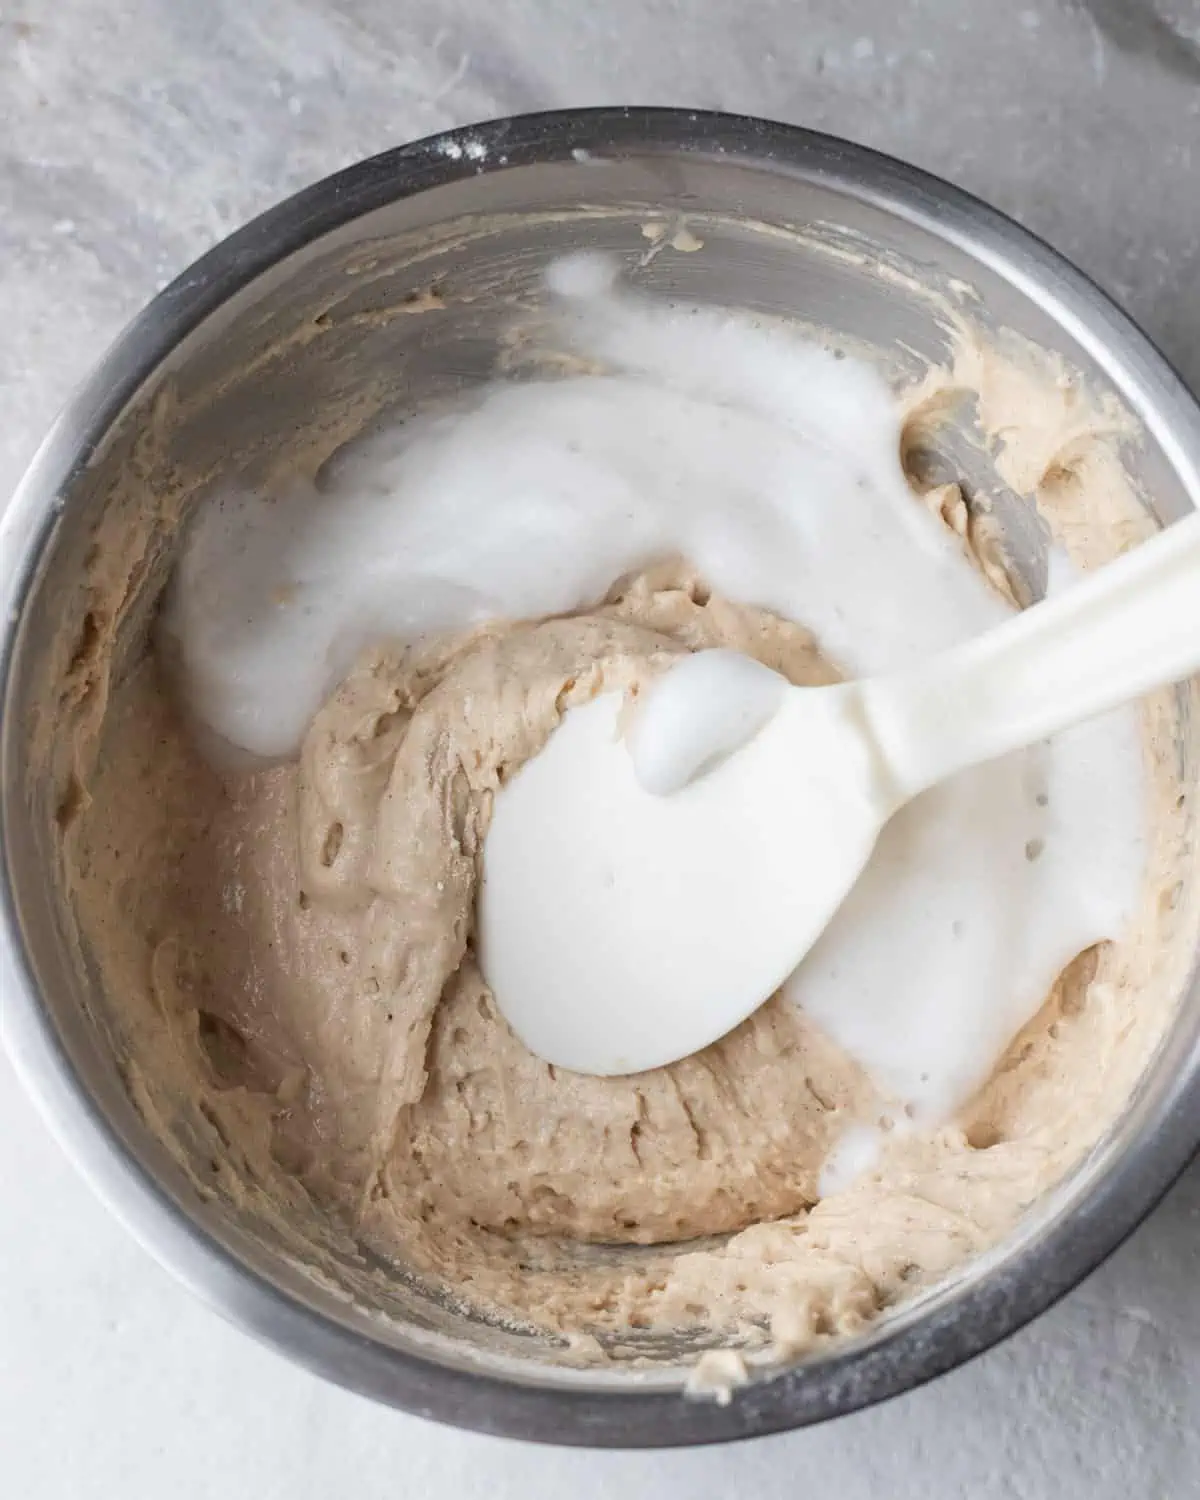
Gently fold the whipped aquafaba into the waffle batter. This helps keep the batter light and fluffy.
Pro tip: Make sure you fold in the aquafaba after it is whipped. Try not to overmix it otherwise, the aquafaba may go flat. Also, don't wait very long after whipping it.
Step 5: Cook the waffles:
Preheat your waffle maker. Then scoop about ½ to ¾ cup of batter (depending on how big you want your waffles) onto your hot waffle maker. Cook on medium heat until they're golden brown and crispy.
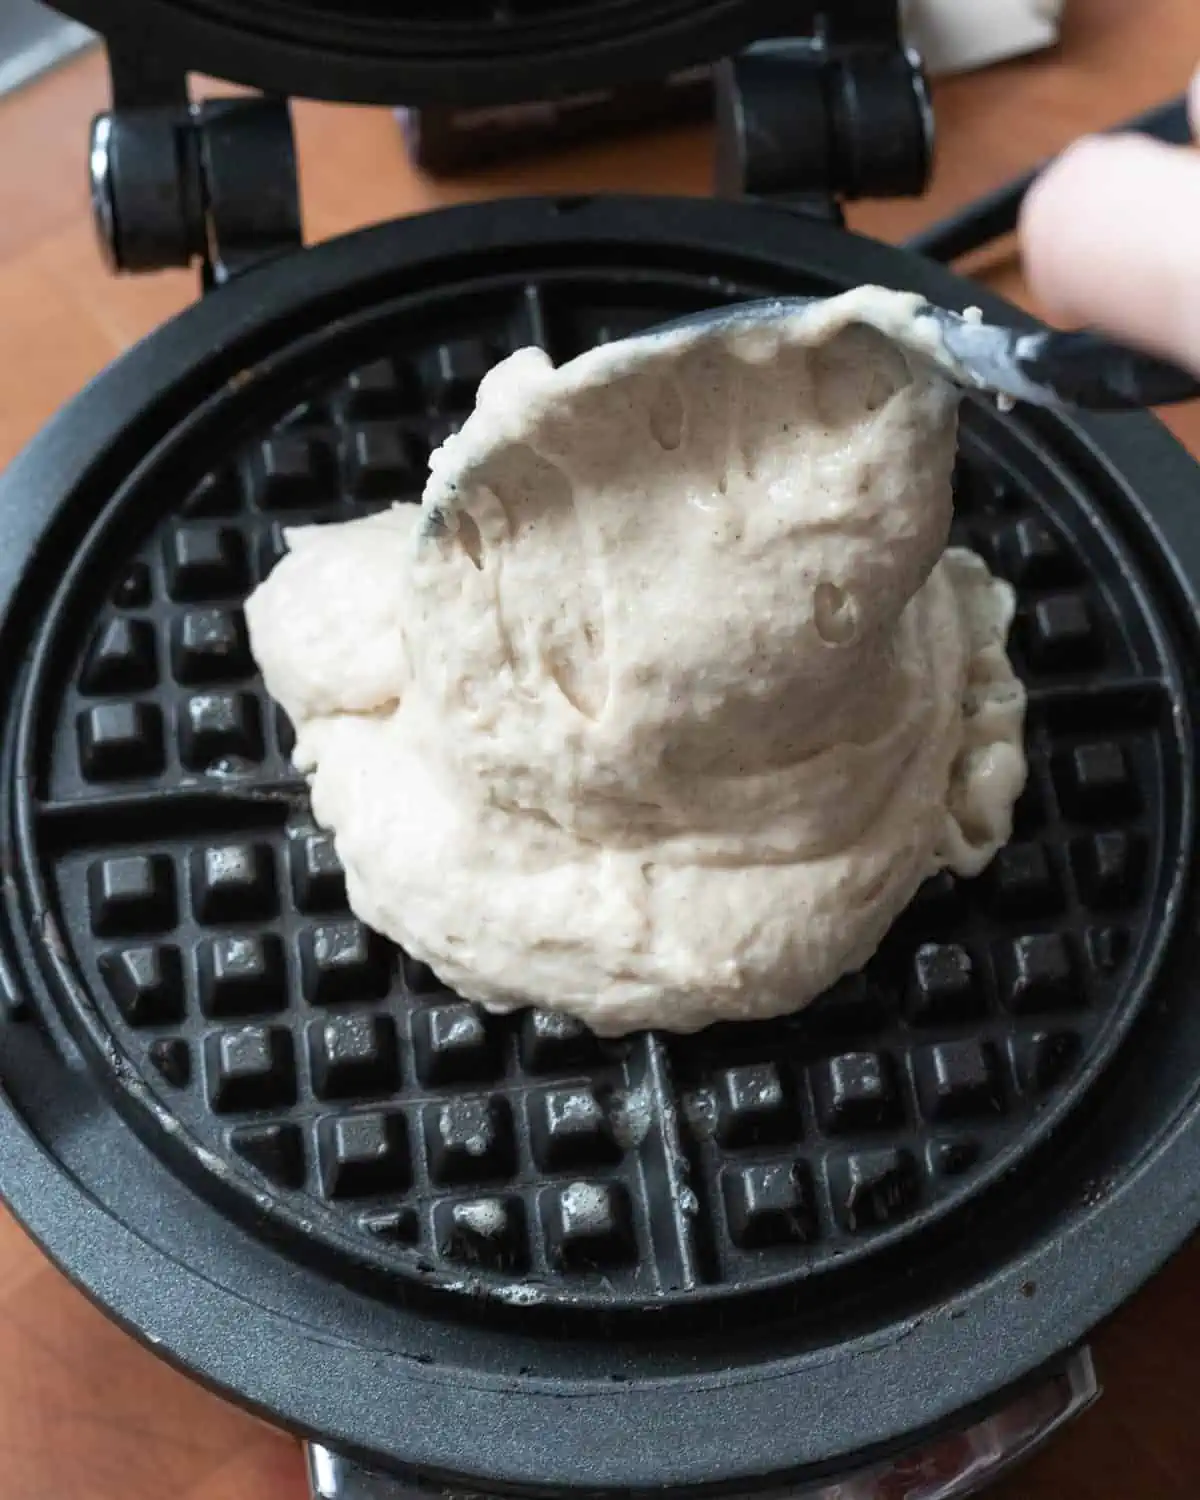
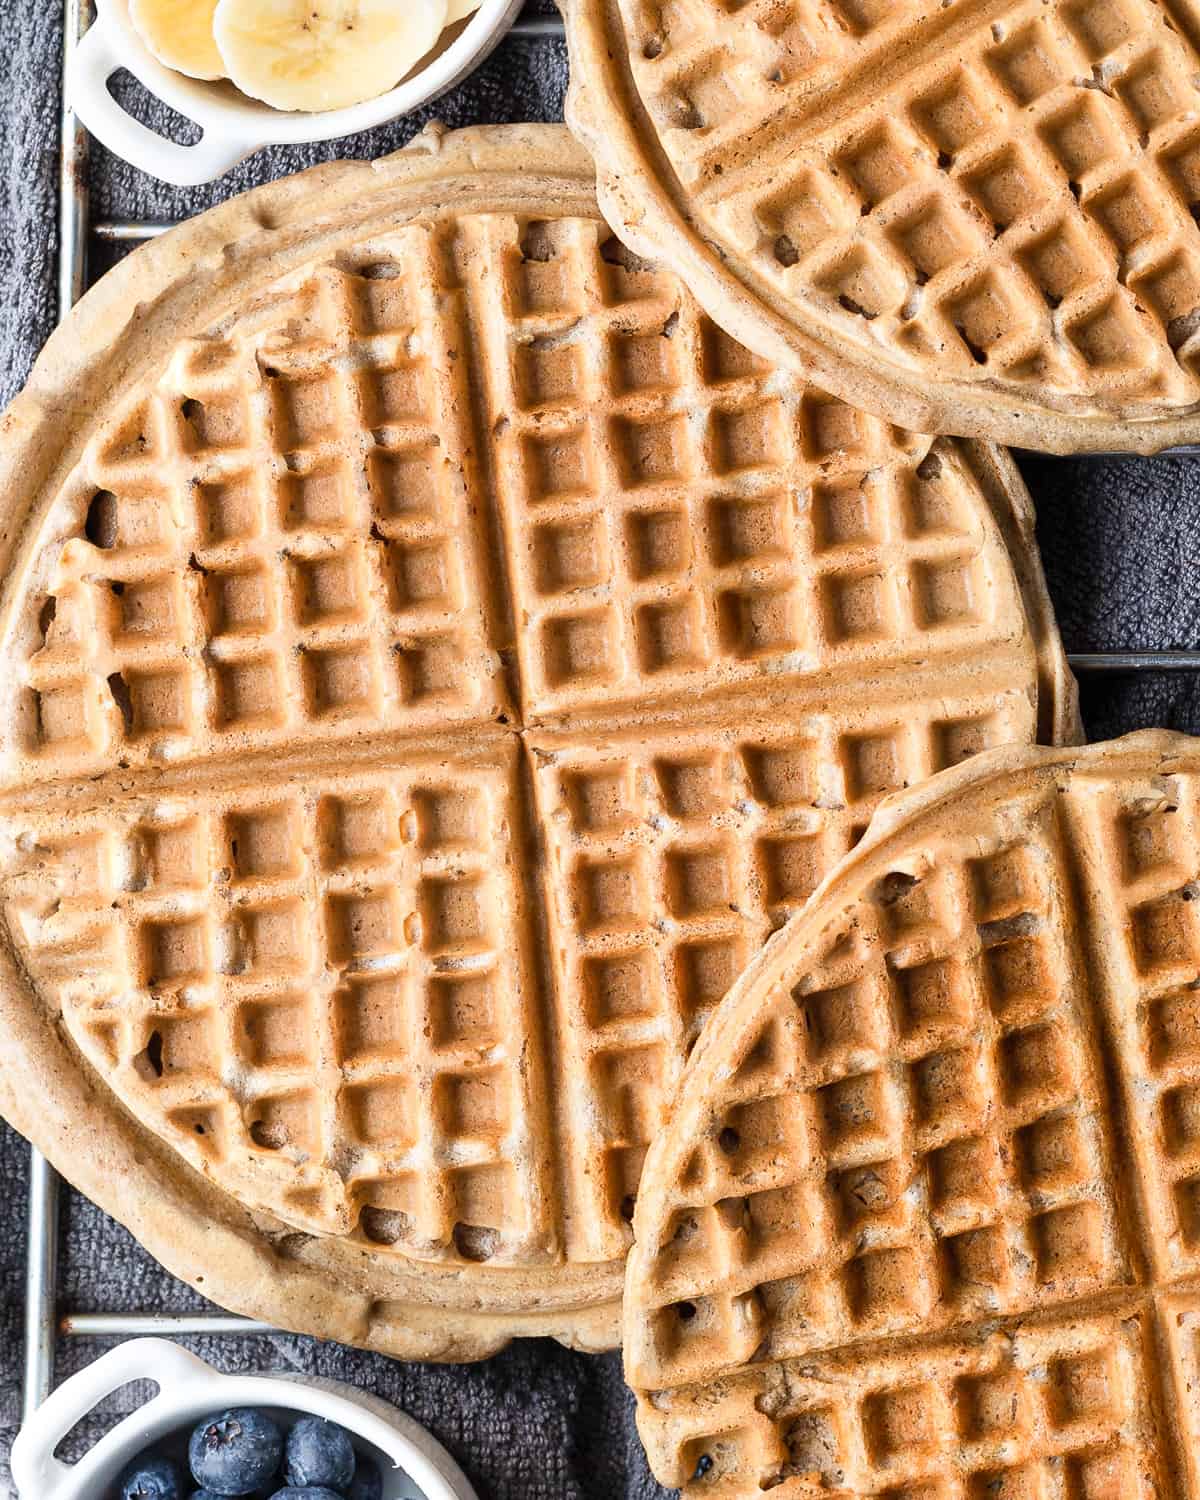
Pro tip: Patience is key! Opening the waffle iron too soon can cause the waffle to tear or stick to the plates. Wait until the steam stops coming out of the iron before checking the waffles.
No waffle maker?
If you don't have a Belgian waffle maker, no worries! You can also make these into pancakes on a pan or griddle. Just remember to grease your pan with a bit of coconut oil to prevent sticking.
Step 6: Add toppings:
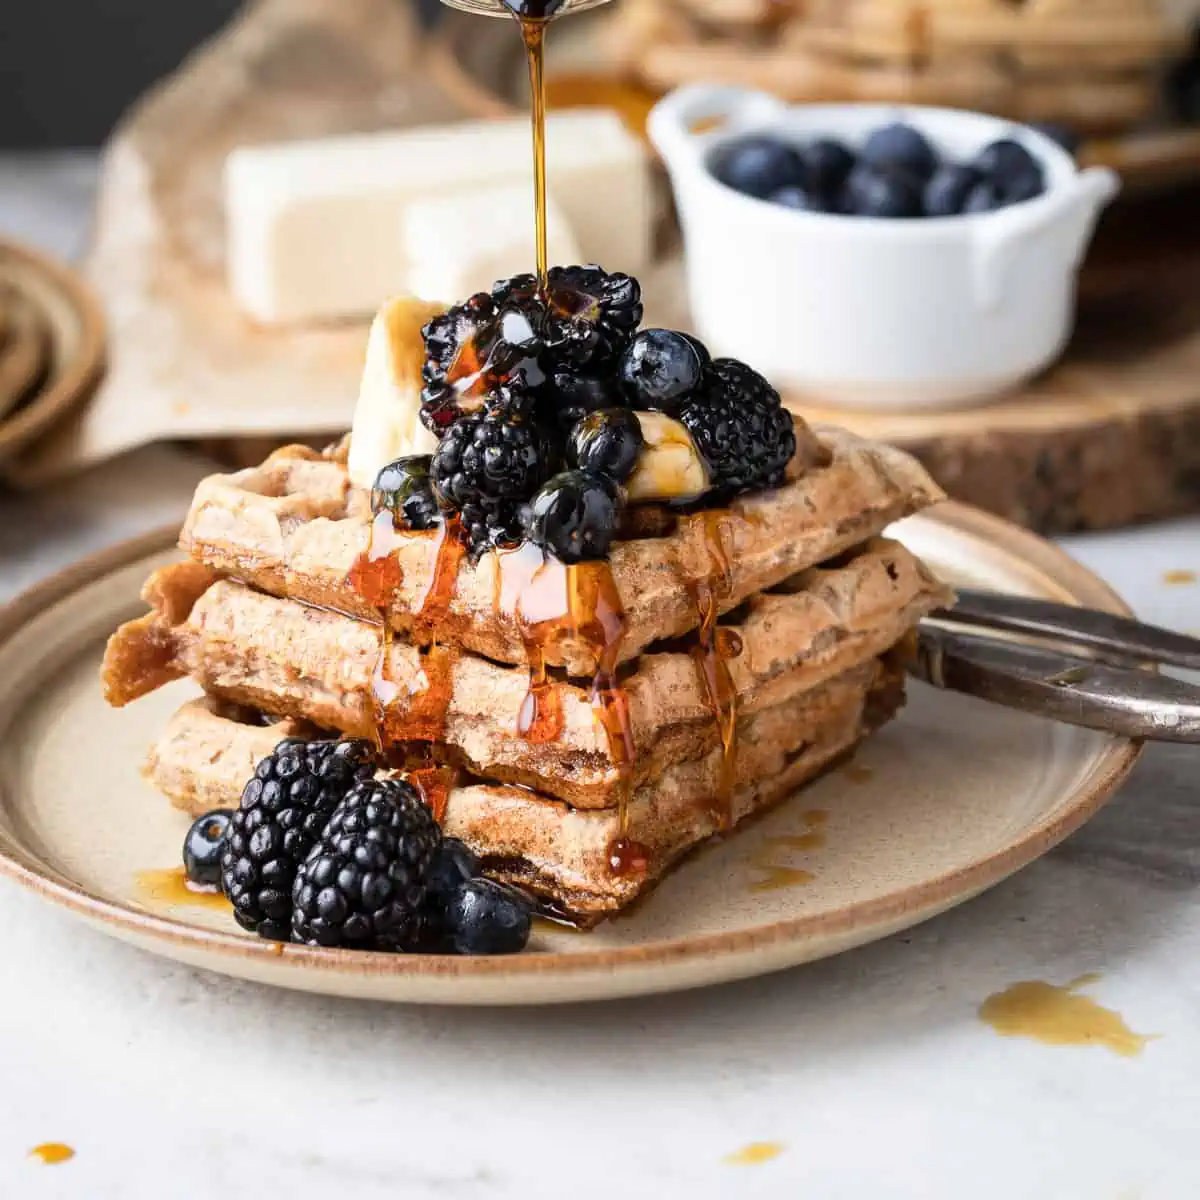
Finally, add your favorite waffle toppings to your homemade waffles! We love to smother them in peanut butter and top with fresh blueberries and sliced strawberries.
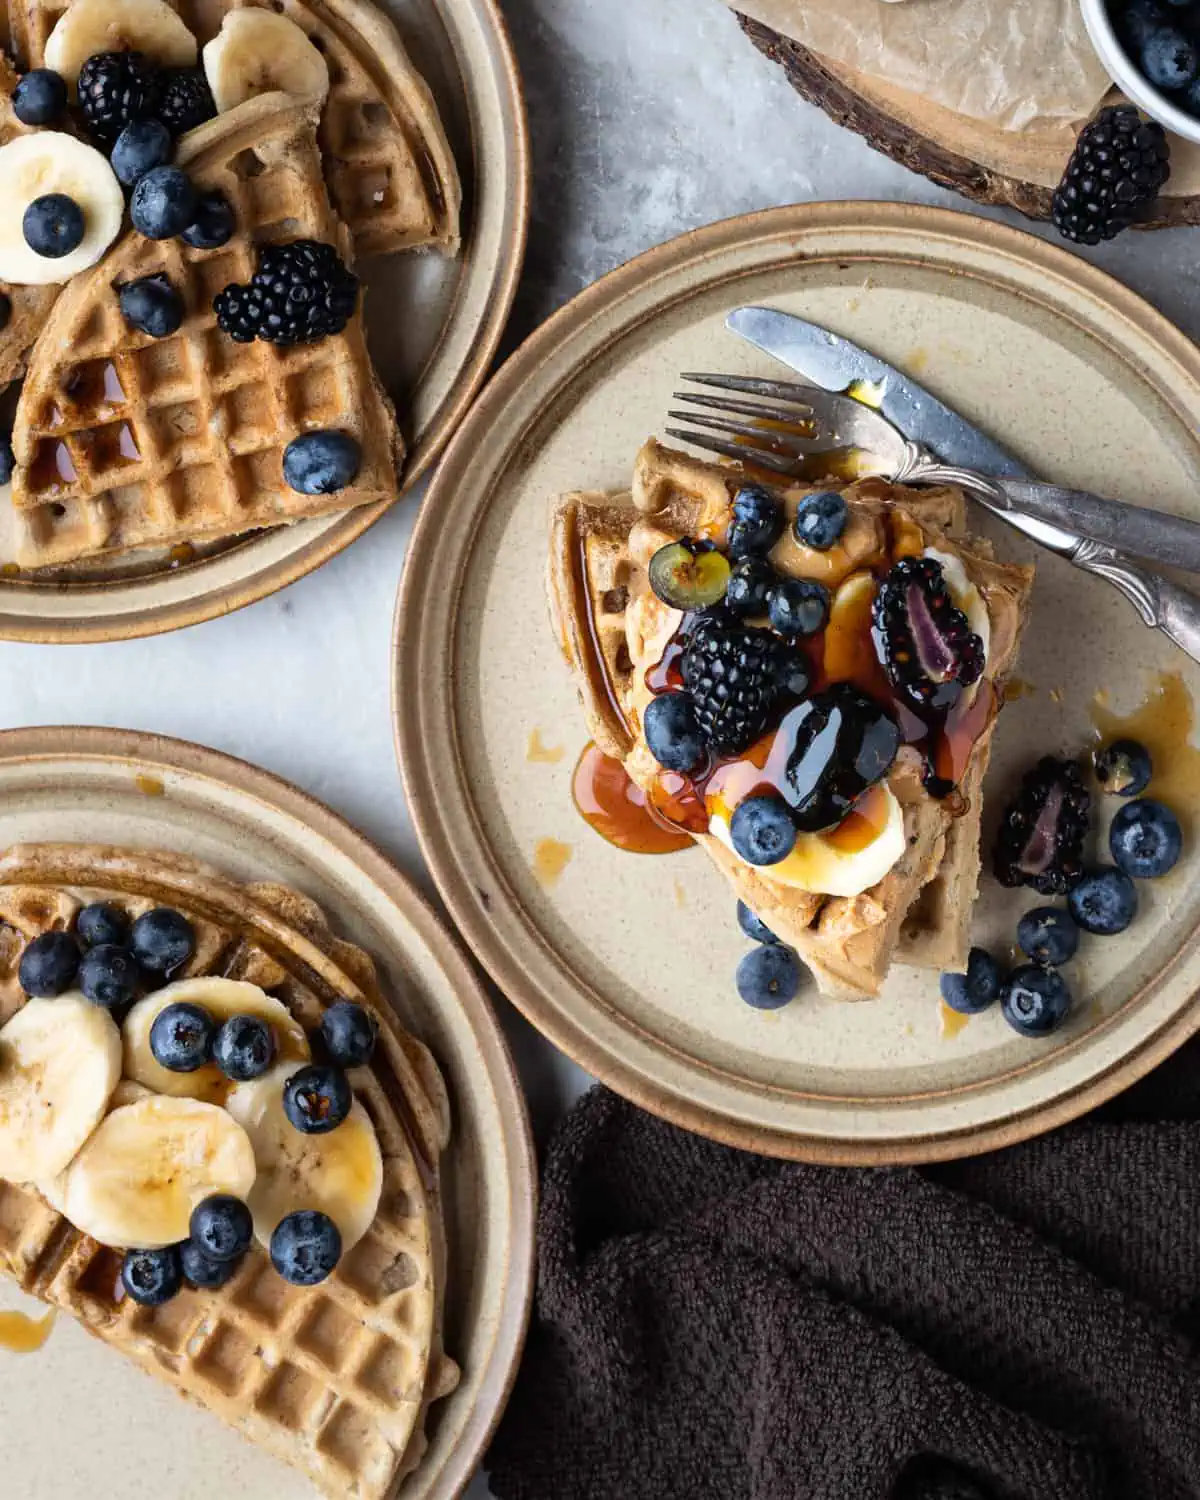
And there you have it - the perfect everyday waffle recipe that's vegan, gluten-free, and absolutely delicious! Don't forget to check out the recipe card below for the exact measurements and cooking times. Enjoy!
🥬Substitutions
Making dairy free waffles can be a flexible process, and you can substitute some ingredients based on your dietary needs and what you have on hand. Here are some substitutions for the main ingredients:
- Gluten-free flour: If you don't have Bob's Red Mill 1-to-1 gluten-free flour, you can use another gluten-free flour blend. Just make sure it contains xanthan gum, which helps with the texture. Alternatively, you can use a combination of rice flour and almond flour.
- Plant-based yogurt: Any dairy-free yogurt will work in this recipe. You can use almond milk yogurt, coconut milk yogurt, or soy yogurt. If you don't have any, you can substitute it with applesauce or mashed bananas, but this may slightly alter the taste and texture of your vegan gluten-free waffles.
- Oat milk: You can substitute oat milk with any other plant-based milk like almond milk, soy milk, or rice milk. Each will give a slightly different flavor, so choose according to your preference.
- Aquafaba: If you don't have aquafaba, you can use a "flax egg" as a substitute. To make a flax egg, mix one tablespoon of ground flaxseed with three tablespoons of water and let it sit for about 10 minutes until it becomes gel-like. This can be a great binder in your vegan gluten-free waffles.
- Vanilla extract: If you're out of vanilla extract, you can use almond extract or maple syrup. Keep in mind that this will slightly change the flavor of your waffles.
Remember, substitutions can affect the texture and taste of your waffles, so it's always best to follow the recipe as closely as possible for the perfect fluffy vegan gluten-free waffles.
🥡Storage
Storing your vegan gluten-free waffles or the batter properly can make your life so much easier. Here's how:
Fridge - Batter
The best thing about this recipe is that the batter can be stored in the fridge. Storing them this way (versus the cooked waffle) allows you to easily make fresh waffles and prevent them from drying out.
You can store the leftover batter in an airtight container in the fridge for up to 5 days. This is perfect for making fresh waffles throughout the week. Just give it a good stir before using it.
Fridge - Leftover Waffles
Got leftover cooked waffles? Simply let them cool completely, then store them in an airtight container in the fridge for up to 3 days. They'll retain their texture and flavor, ready to be reheated when you need them.
Freezer
While you can freeze many types of waffles, I wouldn't recommend freezing these vegan gluten-free waffles. The texture can change upon freezing and thawing, and they may not be as fluffy or tasty as when fresh. Stick to the fridge for storing these waffles and enjoy them within a few days for the best experience.
❔FAQ
There are several options for egg substitutes in vegan baking. For waffles, you could use mashed bananas, applesauce, or a "flax egg" (ground flaxseed mixed with water). In this recipe, we use aquafaba, the liquid from a can of chickpeas, which acts as a great egg substitute.
Yes, you can. You can use a griddle pan or a regular pan, but the texture and appearance will be more like pancakes. The batter for vegan gluten-free waffles can also be used to make pancakes.
If your waffles aren't fluffy, it could be due to a few reasons. Overmixing the batter can lead to tough and dense waffles. Also, using the wrong type of flour or not using a binding agent can affect the texture. In this recipe, we use aquafaba and a good gluten-free flour blend to ensure fluffy waffles.
There are several dairy-free alternatives you can use in place of oat milk in this waffle recipe. Almond milk, soy milk, coconut milk, and rice milk are all good options. In this recipe, we use oat milk for its creamy texture and mild flavor.
While you can technically substitute water for milk in a waffle recipe, it will affect the flavor and texture. Plant or dairy milk adds richness and helps great texture in your waffles. If you're looking for a dairy-free alternative, consider using a plant-based milk like almond milk or oat milk.
🥣Looking for more...
I hope you loved this vegan gluten-free waffles recipe as much as we do! If you are looking for more vegan gluten-free breakfast recipes check out these:
If you make this recipe please like and comment below, that would mean a lot to me! I would love to see your creation over on Instagram so please tag me (@at.my.table) so I can like and share!
Until then, tchau
📖 Recipe
Fluffy Dairy Free Belgian Waffles (Vegan & Gluten-Free)
Equipment
- Waffle iron
- Hand mixer
Ingredients
Dry Ingredients
- 2 cups gluten free flour Bob's Red Mill 1-to-1
- 1 ½ teaspoon baking powder
- ½ teaspoon baking soda
- ¼ teaspoon salt
- 1 teaspoon cinnamon optional
Wet Ingredients
- 1 cup plant based yogurt
- 1 cup oat milk
- 4 tablespoon aquafaba liquid from canned chickpeas
- 1 teaspoon vanilla extract
Instructions
- Into a large mixing bowl add in all the dry ingredients. Whisk to combine. then add in the yogurt, milk and vanilla. Use a spoon to mix until well combined.
- Then in a medium size mixing bowl add in the aquafaba. Beat on medium speed until stiff peaks begin to form. This should take roughly 3-5 minutes.
- Then fold in the whipped aquafaba into the waffle batter mix.
- Then place roughly ½ cup or ¾ cups (depending on the size of waffles you want) of the batter onto your hot waffle pan and cook on medium heat until ready. If you do not own a waffle maker then you can make these into pancakes on a pan or griddle.
Notes
Nutrition
Information Source
- Zong, G., Eisenberg, D. M., Hu, F. B., & Sun, Q. (2016). Consumption of Meals Prepared at Home and Risk of Type 2 Diabetes: An Analysis of Two Prospective Cohort Studies. PLOS Medicine, 13(7), e1002052.
- Canella, D. S., Levy, R. B., Martins, A. P. B., Claro, R. M., Moubarac, J. C., Baraldi, L. G., Cannon, G., & Monteiro, C. A. (2014). Ultra-processed food products and obesity in Brazilian households (2008–2009). PLoS ONE, 9(3)

Leave a Reply